React, Vue, Next.js & JS Framework Waitlist Integration
Why use LaunchList with modern JS frameworks?
Building your own waitlist from scratch costs days of engineering — referral tracking, position updates, email verification, spam defense, leaderboards. LaunchList gives you all of it via a framework-agnostic widget that drops into React, Vue, Next.js, Gatsby, Nuxt, Remix, or plain Express apps.
What you get:
- Framework-agnostic widget — works with React, Vue, Next.js, Gatsby, Nuxt, Remix, or vanilla JS
- Viral referral program — every signup gets a unique referral link that moves them up the waitlist
- Fraud detection — disposable email blocking, MX validation, and behavioral scoring on every submission
- Custom form option — build the form in your own component and POST to LaunchList's endpoint for full control
- CSV export — download your full list any time
- Free plan — up to 100 submissions, no credit card required
Setup takes about 5 minutes. Use the embed widget for speed or the custom-form pattern for full design control.
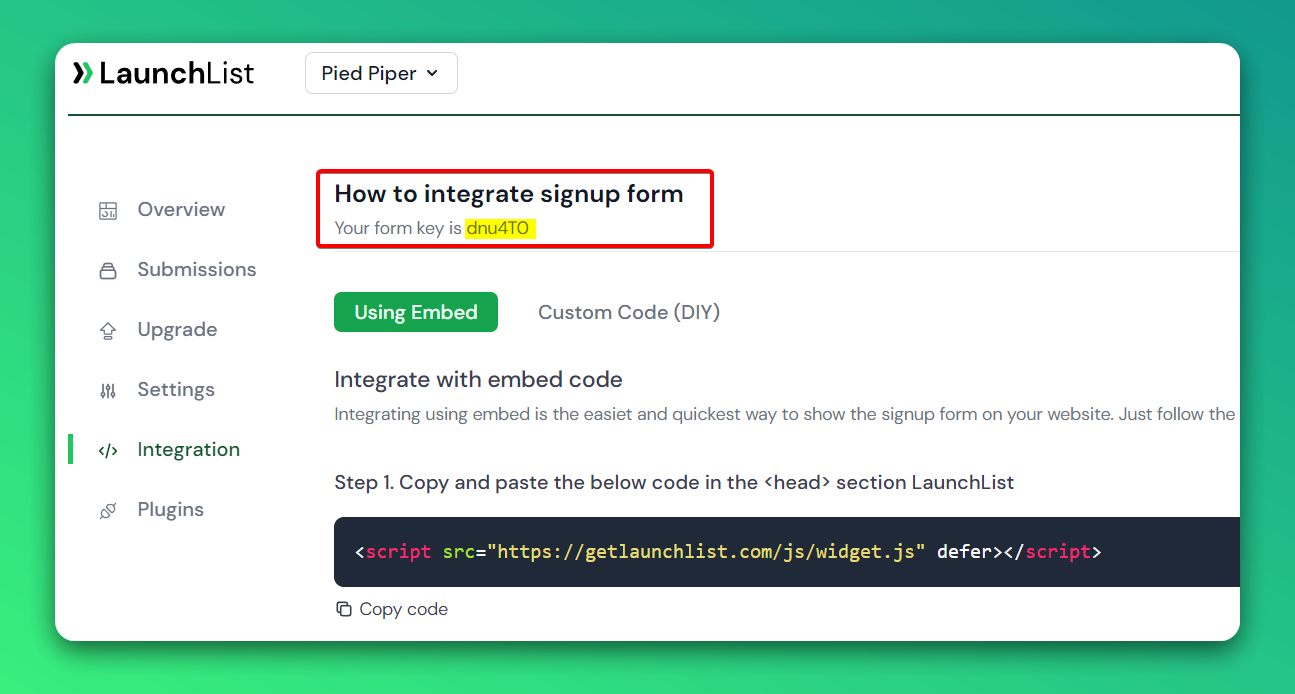
Step 0 - Get form key
To integrate the embed widget on React based website, first, you need a LaunchList form key which you can get from integration page.
Embed Widget
Step 1 - Add a widget script into <head> section of your website
- Add the below script into the
<head>section. You can also use a package React Helmet to easily add scripts into<head>
<script src="https://getlaunchlist.com/js/widget.js" defer></script>
React Helmet example
import { Helmet } from "react-helmet";
<Helmet>
    <script
        src="https://getlaunchlist.com/js/widget.js"
        type="text/javascript"
        defer
    />
</Helmet>
Step 2 - Add the form code where you want to display the form
- Make sure you have replaced the FORM_KEY with your key from step 0 in the below code
<div className="launchlist-widget" data-key-id="FORM_KEY" data-height="180px"></div>
Once set up, you'll see instantly see the widget on your website.
CodeSandbox widget example
Custom Form
Step 1 - Add a widget script into <head> section of your website
- Add the below script into the
<head>section. You can also use a package React Helmet to easily add scripts into<head>
<script src="https://getlaunchlist.com/js/widget-diy.js" defer></script>
Using React Helmet:
import { Helmet } from "react-helmet";

<Helmet>
    <script
        src="https://getlaunchlist.com/js/widget-diy.js"
        type="text/javascript"
        defer
    />
</Helmet>
Step 2 - Build your form
- Customize the form with your CSS
- You can add multiple input fields if want to collect extra details
- Make sure your form has a class name "launchlist-form" and the method is set to "POST"
- Make sure you have replaced the FORM_KEY with your key from step 0 in the below code
<form
    className="launchlist-form"
    action="https://getlaunchlist.com/s/FORM_KEY"
    method="POST">

    <input name="name" type="text" placeholder="Enter your name" />
    <input name="email" type="email" placeholder="Enter your email" />

    <button type="submit">Join Waitlist</button>
</form>
Once set up, you'll see instantly see the widget on your website.
CodeSandbox custom code example